

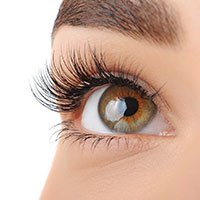


Choosing the right lash tiles for your salon can make lash services more efficient, sanitary, and professional-looking. Here’s a clear step-by-step guide to help you decide:
1. Understand What Lash Tiles Are Used For
Lash tiles are flat organizers used to:
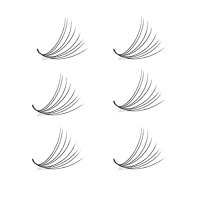
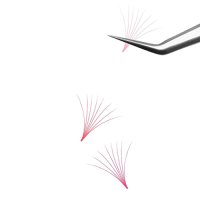
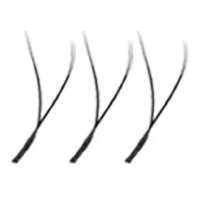
Hold lash fans/lashes during volume and mega-volume application
Keep different lash lengths, curls, and thicknesses organized
Mix adhesives and primers
Provide a sanitary surface for products during service
Good quality tiles can save time and reduce errors.
2. Pick the Best Material
The surface material matters a lot for how easy the tile is to use:
Silicone Tiles
✔ Lash fans stick slightly — prevents slipping
✔ Easy to clean and sanitize
✔ Durable and long lasting
Best choice for most professional salons.
Paper/Cardboard Tiles
✘ Less sanitary and absorbs adhesive
✘ Harder to clean
Best for temporary use only.
Tip: Avoid porous materials — they trap adhesive and germs.
3. Choose the Right Size & Layout
Lash tiles come in many sizes and designs — choose based on your workflow:
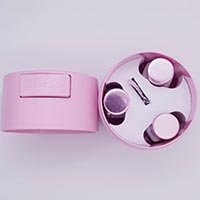
➤ Small / Travel Tiles
Compact for lash artists on the go
Good for small setups
➤ Medium Tiles
Standard choice for most salons
Easy to organize 4–8 lash types
➤ Large Tiles with Sections
Great when doing volume or mega-volume sets
Sections for:
Multiple lengths
Different thicknesses
Adhesive and primer
Tip: Tiles with clear labeling areas save time.
4. Layout That Matches Your Technique
Consider how you work:
For Classic Lashes
Few sections needed
A small/medium silicone tile works well
For Volume/Mega Volume
More sections for fans and lengths
Choose tiles with segmented areas
5. Hygiene & Easy Cleaning
Hygiene is critical in a salon:
✔ Non-porous silicone — easy wipe-down between clients
✔ Dishwasher-safe tiles save time
✔ Tiles with raised edges prevent spills
6. Visibility & Contrast
Good tiles make working easier:
Black or dark grey tiles make lighter lash extensions easier to see
White tiles can help see products clearly in good lighting
Some artists prefer tiles with printed rulers or grids
7. Price vs. Value
Lowest-cost tiles may be thin or low quality
Mid-range silicone tiles often give the best durability + performance
High-end kits may include:
Multiple tiles
Adhesive spots
Rulers
It’s okay to spend a bit more — good tiles improve speed and accuracy.
8. Extra Features to Look For
Some tiles include helpful details:
✔ Rulers or lash length markings
✔ Indented wells for glue drops
✔ Stackable or magnetic designs
✔ Non-slip bases
✔ Color coded sections
9. Test for Your Salon Setup
Every artist is different — consider:
Your chair/bench height
Lighting
How many trays you work with at once
Whether you use fans, pre-made fans, or handmade fans
Quick Comparison
| Feature | Best For |
|---|---|
| Small silicone tile | Classic sets / beginners |
| Large multi-section silicone tile | Volume / advanced artists |
| Tiles with grids/rulers | Fast measuring & organization |
| Dishwasher-safe | High-volume salon workflow |
Where to Start Buying
When shopping, filter for:
✔ Silicone material
✔ Positive reviews from lash artists
✔ Clear section markings
✔ Easy cleaning