

If you have ever longed for fuller, longer lower lashes but have only used your daily mascara to achieve the effect, bottom eyelash extensions could be your new beauty obsession. These dainty little enhancements lend balance, definition and just the right amount of glamour to your gaze — but they do take a bit of special know-how and maintenance. We will explain everything from application tips to aftercare, allowing you to sport stunning lower lash extensions safely.
What Are Bottom Eyelash Extensions?

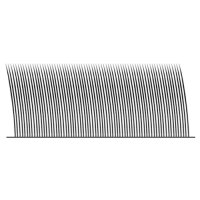
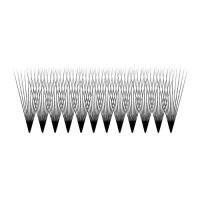
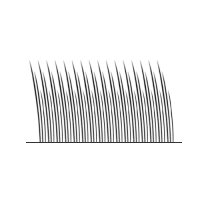
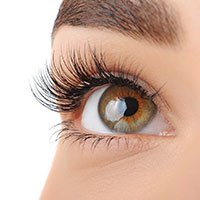
What are the bottom lash extensions? Bottom eyelash extensions are ultra-fine, short (usually 5-8mm) lashes applied to the bottom eyelash line. They are designed for a subtle enhancement, unlike upper lashes, where drama is the name of the game.
Key Benefits:
✔ Natural looking – pairs perfectly with upper lash extensions
✔ No mascara required – Wake up with defined lashes
✔ Brightens eyes – Eyes appear bigger & more awake
✔ Good for both sparse lashes- Natural looking coverage
Fun Fact: Lower Lash Extensions are “in” with brides and photo shoot customers for a 360° lash look!
Who Are Bottom Lash Extensions For?
✅ Best for:
✔ Clients who have few lower lashes
✔ Anyone who doesn't like to apply mascara everyday
✔ Brides/photoshoot models (for camera ready lashes)
✔ Anyone who wants wide open doll eyes.
❌ Not ideal for:
✖ Very oily skin (decreases longevity)
✖ Active rubbers (lying face down, frequent rubbing of eyes)
✖ Very short natural lashes (difficult to glue into place)
How to add Bottom Lash Extensions

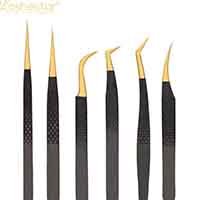
Step 1: Prep & Isolate
• Tape upper lashes up-To avoid sticking to the upper tape
• Use under-eye pads - Protects skin and lifts lower lashes
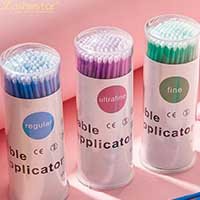
• Thorough cleansing– Eliminates excess oils for better adhesion
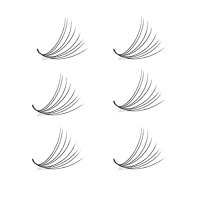
Step 2: Select the Lashes That Are Best for Your Eyes
• Length: 5-8mm (longer looks unnatural)
• Thickness: 0.10-0.15mm (ultra-fine for comfort)
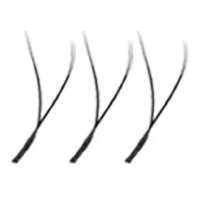
• Curl: J or B curl (soft lift, not poking)
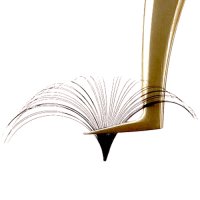
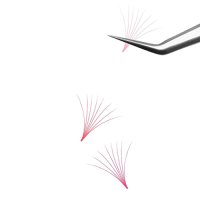
Step 3: Application Technique
Dip lash at 45° – Adhesive Bond is placed correctly
Separate ONE natural lash – Eliminates clumping
Extension to the outer side – Prevents inner-eye irritation
Leave enough gap: two to three mm between extensions for a natural look
Pro Tip: Use only 30-50% of the lower lashes for a natural, open-eyed effect.
Bottom Lash vs. Top Lash Extensions: The Key Differences
| Feature | Bottom Lashes | Top Lashes |
|---|---|---|
| Length | 5-8mm | 8-14mm |
| Thickness | 0.10-0.15mm | 0.03-0.20mm |
| Curl | J/B curl | C/D curl |
| Retention | 1-2 weeks | 3-4 weeks |
| Application Time | 20-30 mins | 1.5-2 hours |
How Long Do They Last?

• 1-2 weeks (compared to 3-4 weeks for upper lashes)
• No refills - Typically satisfied with a full set to fill the loss
Extend Their Lifespan With:
✅ Oil-free makeup remover
✅ Gentle cleansing (no rubbing)
✅ Sleeping on your back
Aftercare Must-Knows
To maintain fresh looking lower lash extensions:
Avoid:
• Oil-based products
• Waterproof mascara
• Rubbing eyes
Do:
• Apply a lash sealant (Adds life to the extensions)
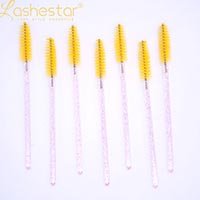
• Lightly brush through with a mini wand
• Schedule touch-ups every 10 days
Final Thoughts
Bottom lash extensions are ideal for clients that would like to have a low maintenance “made up” look without going through the tedious daily mascara. It may require a gentle touch, but the payoff — balanced, bright-eyed peepers — is worth it.
Key Takeaways:
• Shorter & thinner vs upper lashes
• 1-2 weeks (oil-free care helps)
• Best for fancy occasions or those who hate mascara