

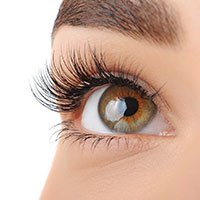


Wet look lash extensions are changing up the beauty game with their textured, dramatic finish, designed to imitate enthusiastic mascaraed lashes as they dry. This in-depth guide covers everything you need to know about this popular practice, ranging from the fundamentals to advanced treatments.
What Are Wet Look Lash Extensions?
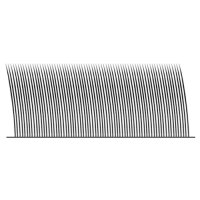
Drenched lash look is designed to make lashes look wet and freshly-coated throughout wearWet Look Lashes: Make-up artist should EYES1 : 5-6 layers, alternating Lash Builds with styles from theTrendinglash Collections. Unlike other lash extensions designed for visible separation and length, this innovative formula leaves your lashes clump-free and defined.
Key Characteristics:
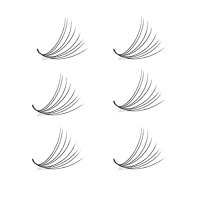
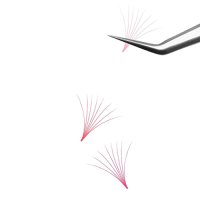
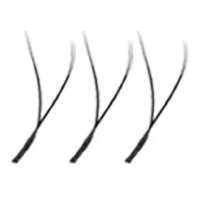
Groups: Lashes gathered in small clusters
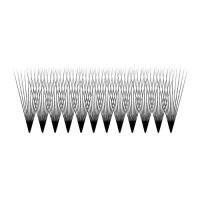
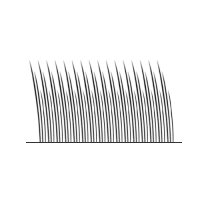
Textured effect: Irregular, spiky pattern
High-definition impact: Dramatic eye definition
Easy daily styling: Gets ready on the go in no time
Low maintenance: Ready to keep up with your busy schedule.

Best Candidates for Wet Look Lashes
Perfect For:
Clients wanting dramatic, high-impact results
Medium to full natural lash density types
Fashion-forward individuals seeking editorial looks
Ladies who would enjoy a more understated lash style
Not Recommended For:
Sparse natural lashes (accentuates gaps)
Conservative workplace environments
New lash clients (begin with classic looks)
Those preferring natural, wispy looks
Wet Look vs. Other Lash Styles
Vs. Classic Lashes:
Classic: 1:1 application, natural separation
Wet look: Tightly packed, textured to the max
Maintenance: Wet look needs less daily brushing

Vs. Volume Lashes:
Volume: Uniform fluffy fans
Wet look: Distorted clumps and spikes
Effect: Volume vs wet look.
Vs. Wispy Lashes:
Wispy: Soft, feathery separation
Wet look: Defined, intentional clustering
Appearance: Wispy is soft. Wet look is bold.
Care Essentials For Wet Look Application
Lash Extensions:
Lengths: 8-14mm (mix for texture)
Curls: C-D for maximum visibility
Diameter: 0.05-0.07mm for flexibility
Materials: Synthetic materials keep shape better

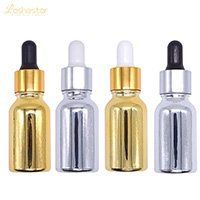
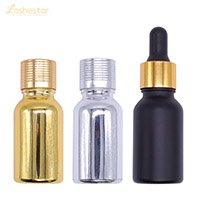
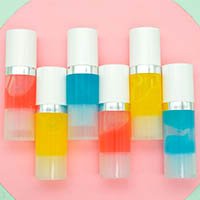
Adhesives:
Quick-drying substances: Dries in 1 to 2 seconds
Flexible hold: Allows for texturing
Low Fume: Comfort during intricate work
Tools:
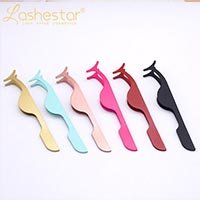
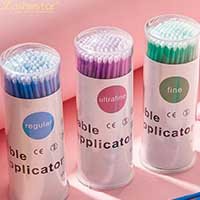
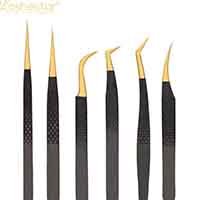
Micro-tweezers: Precision placement
Lash pads: Black for contrast
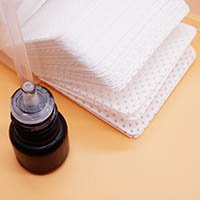
Sealing solution: Enhances glossy effect
Texture combs: Creates clustered effect
Application Techniques
Method 1: Direct Clustering
Put 2-3 extensions on one natural lash
Vary lengths within each cluster
Space clusters 2-3mm apart
Different Cluster Sizes for Realistic Look
Method 2: Texturing Technique
Apply individual lashes normally
Use lash-sealing solution to form the lashes together
Adjust before glue dries completely with pair of tweezers
Irregular Across The Lash Line
Method 3: Pre-made Clusters
Use pre-formed 2-3 lash clusters
Apply as single units
Vary cluster density across eye
Center point focus density for eye-opening effect

Step-by-Step Application Process
Preparation:
Clean natural lashes thoroughly
Apply under-eye patches
Isolate bottom lashes
Prime natural lashes
Mapping:
Inner corner: 8-9mm clusters
Center: 10-12mm clusters (most dense)
Outer corner: 9-10mm clusters
Pattern: Irregular compacting for natural look.
Application:
Center and work to edges
Vary cluster sizes randomly
Ensure clusters are secure
Check from multiple angles
Finishing:
Apply sealing solution
Final shape with the texture comb
Check for comfort and security
Provide aftercare instructions
Advanced Texturing Methods
Glossy Effect Technique:
Apply clear lash sealant
Create luster with silicone tool
Concentrating on lash tips for wet-look effect
Spiky Texturing:
Group lashes in upward points
Vary spike directions
Create "just brushed" effect

Uneven Clustering:
Intentionally irregular grouping
Mimics natural mascara application
Creates effortless editorial look
Client Consultation Tips
Key Questions:
"What's your daily makeup style?"
“How high a maintenance are you willing to have?”
"Do you like something dramatic or something more subtle?"
"What's your natural lash density?"
Visual Aids:
Show comparison photos
Demonstrate on lash chart
Use temporary clusters for trial
Maintenance and Aftercare
Daily Care:
Avoid brushing (disrupts texture)
Gently clean between clusters
Use oil-free cleansers
Sleeping on the back keeps the ears in shape.
Fill Schedule:
2-3 week appointments
Focus on maintaining texture
Replace outgrown clusters
Refresh sealing solution
Problem Solving:
Sagging clusters: Re-texture with sealant
Gaps: Apply patches of small clusters between stationed
Unevenness: Adjust during fills
Style Variations
Natural Wet Look:
Smaller clusters (2-3 lashes)
Subtle texturing
8-10mm lengths
Suitable for everyday wear
Dramatic Wet Look:
Larger clusters (3-5 lashes)
Heavy texturing
10-14mm lengths
Evening/editorial looks
Hybrid Wet Look:
Clumped together mixed with normal lashes
Texture gets thicker from the inner to the outer corner
Customizable density
Technical Considerations
Natural Lash Health:
Maximum 3:1 ratio (extension:natural lash)
Regular breaks between sets
Protein helps keep your natural lashes naturally flexible and strong
Avoid over-clustering weak lashes
Adhesive Techniques:
Micro-bead application
Avoid over-gluing clusters
Ensure proper cure time
Check for adhesive allergies
Business Building with Wet Look Services
Marketing Strategies:
"Editorial lash specialist" positioning
A Sight to Behold on (and off) Social Media With the close-up shots of texture trending on social media
Partner with photographers for portfolio
Provide temp texture for evening out.
Pricing Structure:
Premium pricing for technical skill
Texture refresh services between fills
Package pricing for regular clients
Photography sessions for portfolio building
Common Challenges & Solutions
Challenge: Clusters too heavy
Solution: Use lashes with a smaller diameter (0.03-0.05mm).
Challenge: Texture doesn't last
Solution: Deploy more robust sealing; teach client how do preservation themselves.
Challenge: Client discomfort
Solution: Make sure clusters not too tight, check weights.
Challenge: Uneven pattern
Solution: Use a mapping guide; stand back often when applying.
Advanced Customization Techniques
Color Effects:
Clear tips for dewy effect
Brown-black gradients for depth
Colored sealants for fashion looks
Length Variations:
Longest clusters at center
Gradual shortening toward corners
Random length variations for texture
Density Control:
Denser center clusters
Lighter inner/outer clusters
Custom patterns for eye shapes

Training Recommendations
Skill Development:
Master classic application first
Practice clustering on mannequins
Take advanced texture courses
Attend wet look workshops
Certification:
Seek specialized wet look certification
Learn multiple texturing methods
Study safety protocols for clustering
Practice trouble-shooting common issues
Industry Trends
Current Popularity:
Social media driven demand
Celebrity red carpet appearances
Fashion week backstage staple
Editorial magazine features
Future Developments:
New texturing products
Faster application techniques
Longer-lasting cluster methods
Innovative sealing solutions
Client Education Materials
Aftercare Guides:
Visual step-by-step cleaning
The right moves to keep texture for the long haul
Emergency repair instructions
Fill schedule recommendations
Style Options:
Gallery of wet look variations
Before/after transformations
Celebrity inspiration images
Customization options
Professional Standards
Safety Protocols:
Max lash weight allowed per natural lash
Regular sanitation procedures
Client health history reviews
Emergency response training
Quality Standards:
Consistent cluster sizing
Even distribution pattern
Secure adhesion
Comfortable wear
Conclusion
Wet look lash extensions provide a slick, on-trend take on classic lash styles. The service demands some serious technical skills, but the payoff is dramatic, low-maintenance lashes that differ drastically from your typical lash services.
Mastering wet look techniques involves:
Precision clustering skills
Advanced texturing methods
Customized mapping patterns
Specialized product knowledge
With the beauty industry in a never-ending cycle of evolution, wet look lashes are the meeting of technical art and fashion trend. For the tech that's willing to up-skill, this specialty presents a tremendous opportunity for business growth and client retention.